Label:Yes
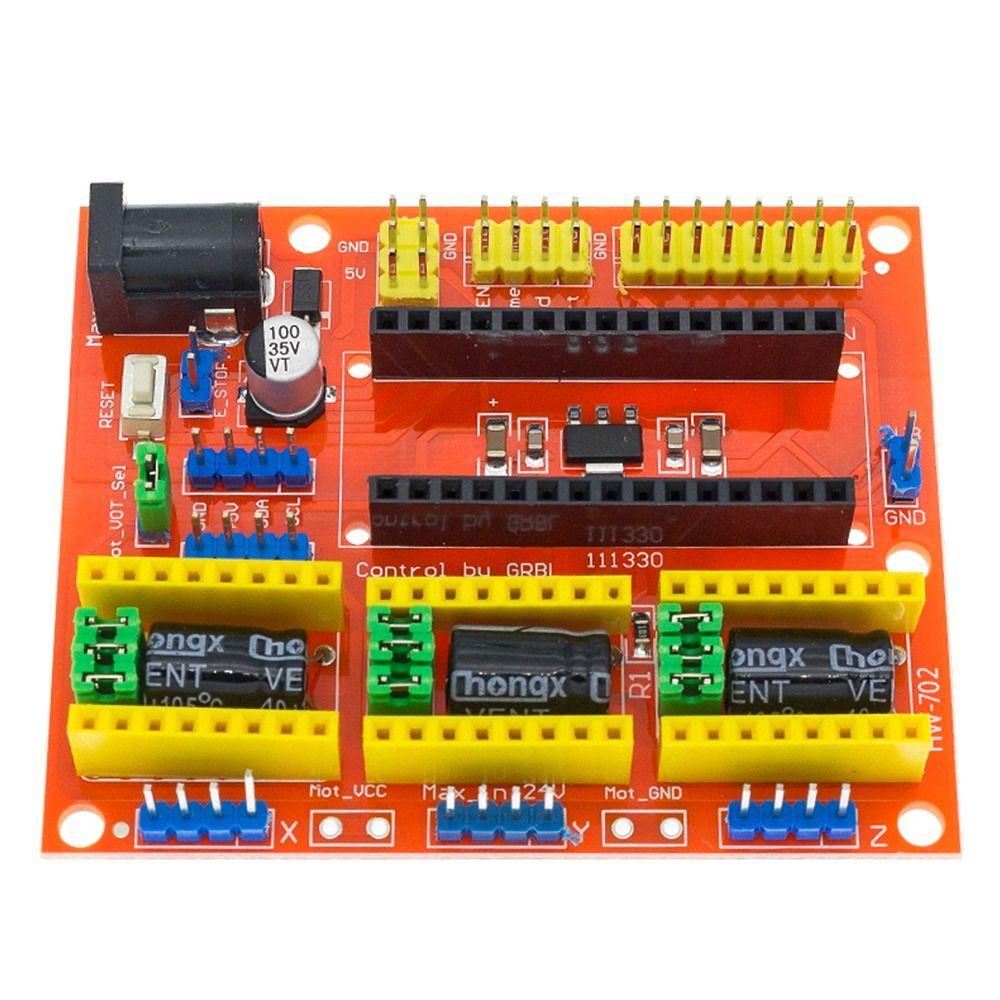
Name: Engraving Machine Expansion Board
Material: PCB Board
Size: about 7.8*6.5cm
Style: Shield V3, Shield V4
Brand new and high quality
V3 Description:
1. Using A4988 module
2. Five different step mode
3. Adjust the maximum current output, so as to obtain a higher rate of step.
4. Open source firmware that runs on an Arduino UNO that turns G-code commands into stepper signals
5. Can drive four A4988 stepper motor
V4 Description:
3D printer stepper motor driver CNC shield V4 needs to work with Nano board. It can be used as driver expansion board for engraving machines and 3D printers. It has in total 3 channel slots for A4988 stepper motor driver modules (not included) for driving 3 channel of stepper motors. Each channel of stepper motor only needs 2 IO ports, which means 6 IO ports is sufficient to manage 3 stepper motors. This shield can make quick work for managing stepper motors in your project.
Specification:
1. 3 axis stepper motor driver
2. Compatible with micro-drive laser engraving machine, three-axis CNC engraving machine,.
3. 2A can be controlled within the two-phase four-wire stepper motor.
4. Released the digital IO interface, easy to connect to other modules, such as ENDSTOP.
5. Released the I2C interface, you can connect to the LCD I2C or other I2C module.
6. Power DC5V interface, 7.5-12V voltage input.
7. GRBL compatible
8. Worked with aduino nano.
Noted:
A. The firmware of this product is different from the one of official web, that is, they have different interfaces. So in config.h, corresponding interfaces of our products is shown as below:
#define X_STEP_BIT 5 // Uno Digital Pin 5
#define Y_STEP_BIT 6 // Uno Digital Pin 6
#define Z_STEP_BIT 7 // Uno Digital Pin 7
#define X_DIRECTION_BIT 2 // Uno Digital Pin 2
#define Y_DIRECTION_BIT 3 // Uno Digital Pin 3
#define Z_DIRECTION_BIT 4 // Uno Digital Pin 4
corresponding interfaces of official web is shown as below:
#define X_STEP_BIT 2 // Uno Digital Pin 2
#define Y_STEP_BIT 3 // Uno Digital Pin 3
#define Z_STEP_BIT 4 // Uno Digital Pin 4
#define X_DIRECTION_BIT 5 // Uno Digital Pin 5
#define Y_DIRECTION_BIT 6 // Uno Digital Pin 6
#define Z_DIRECTION_BIT 7 // Uno Digital Pin 7
B. The product is equipped with A4988 driver module. If you want to change working mode, just need to adjust the level of ms1 ms2 ms3(DRV 8825 ms0 ms1 ms2) that have been connected to three pairs of pin header(with jumper cap). If plugging a jumper cap, the circuit is connected to GND. Namely, ms1 ms2 ms3(DRV 8825 ms0 ms1 ms2) are connected to GND, meaning the working mode has changed into full-step mode. The circuit is disconnected without jumper cap. If you want to connect the circuit with high level, you have to connect it to VCC by soldering.
Notice:
1. The real color of the item may be slightly different from the pictures shown on the website caused by many factors such as brightness of your monitor and light brightness.
2. Please allow slight manual measurement deviation for the data. Thank for your understanding.
3. 1cm=0.39''.
Package Included:
2x 3D Printer Expansion Board