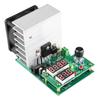
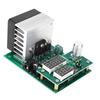
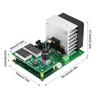
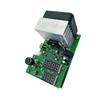
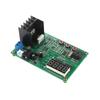
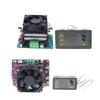
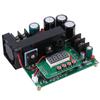
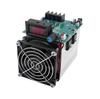
Product selling points:
1.Adopting high quality materials, long life, high quality circuit, stable and efficient performance.
2.Reverse connection protection: with reverse connection protection, even if the wires are connected in reverse, it will not be damaged.
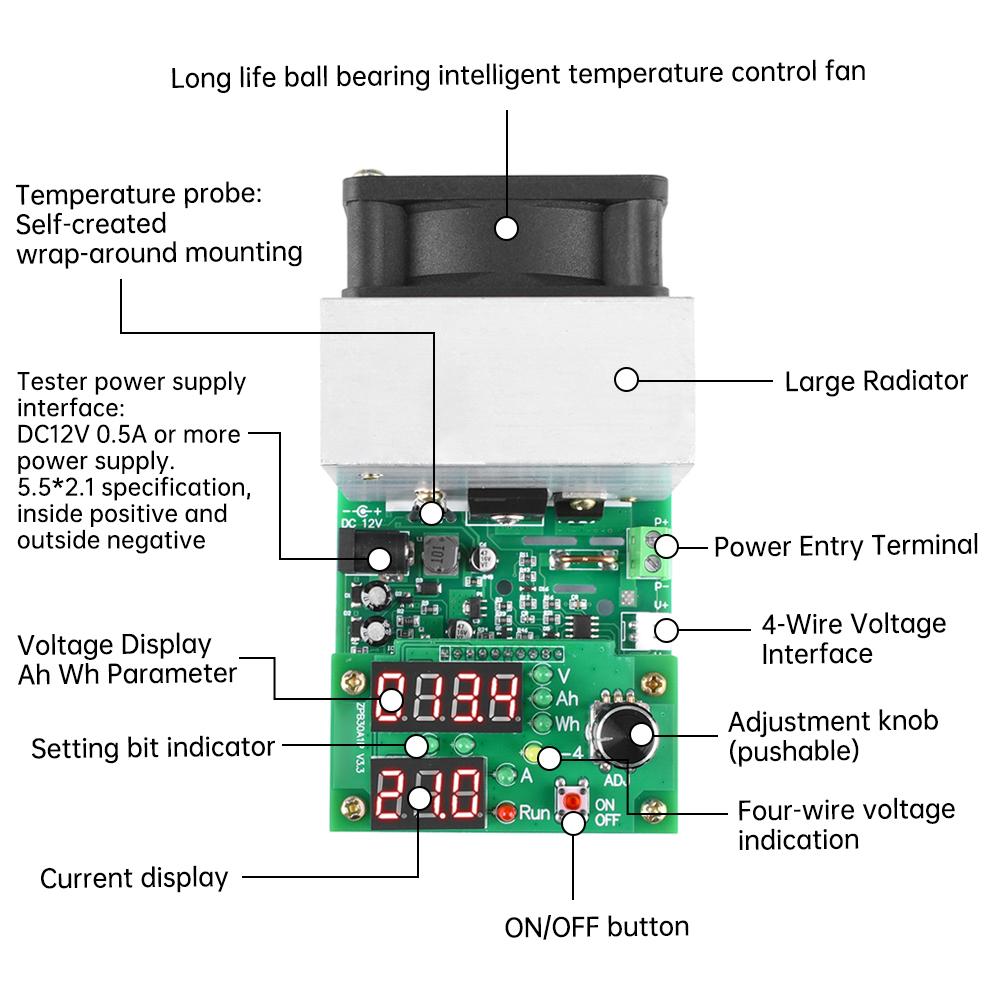
3. With fan control: Intelligent fan control (the fan can automatically and infinitely variable speed according to the temperature of the radiator).
4. Protection functions: overheating protection "otP", instantaneous over power protection "oPP", over voltage protection "ouP", reverse connection protection, abnormal power supply voltage protection.
5. Wide range of applications: can measure the actual capacity of the battery, test the actual power of the load and other purposes.
6. Increase the support for four-wire test in electronic load mode, with independent four-wire voltage indicator.
Product parameters:
Working power supply: DC12V regulated (11-13V) not less than 0.5A, the power supply is not appropriate will display Err6
Interface: 5.5 * 2.1mm round mouth inside the positive pole
Operating mode: single mode constant current (CC)
Discharge current: 0.10-9.99A step 0.1A or 0.01A
Discharge current error: 0.7% plus or minus 0.01A
Capacity test error does not exceed: 0.5A 2%, 2A 1.5%, 5A and above 1.2%
Lower limit (termination) voltage setting range: 0.9-28.0V in steps of 1V or 0.1V
Discharge voltage: 0.90-30.00V (subject to MOS internal resistance and other losses, the measured input 1V can support up to 6-7A current, 9.99A need to be measured when the voltage is greater than 1.3V)
Voltage measurement error does not exceed: 0.8% ± 0.02V
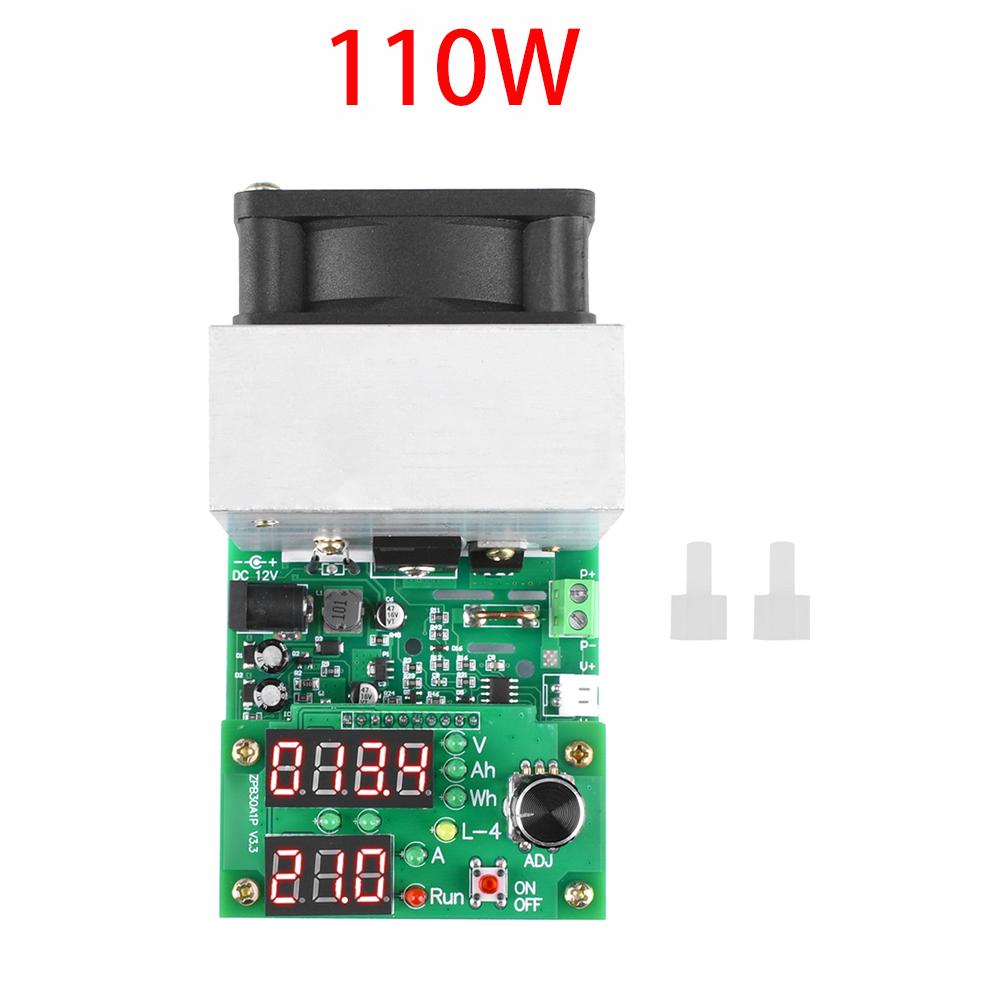
Power: 112W over power automatic current limitation (for example, for 110W, 11V can open 9.99A while in 20V can only open 5.5A)
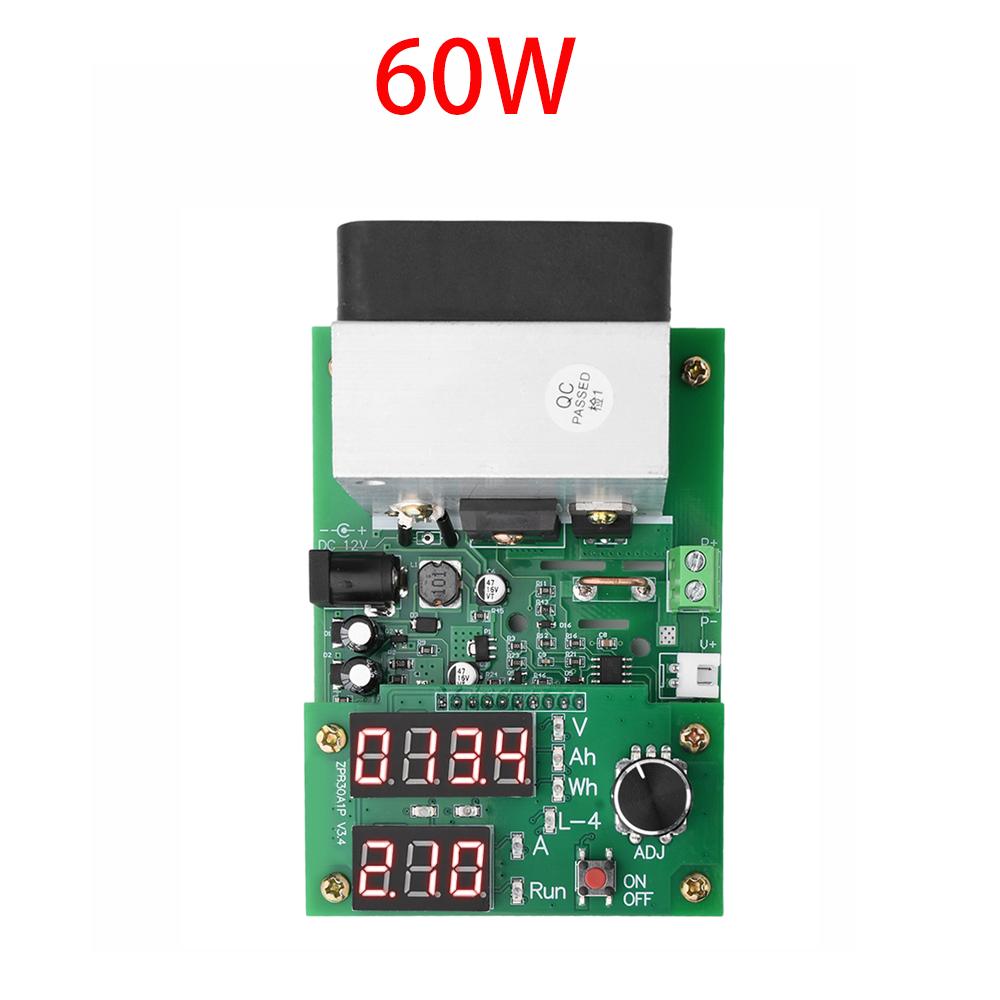
Power: 62W Automatic current limit for over power (e.g. for 60W, 9.99A at 6V and 3.00A at 20V)
Battery test statistics limit: 999.9Ah or 9999Wh, reach the value to stop the test (to the first to the value of the stop condition)
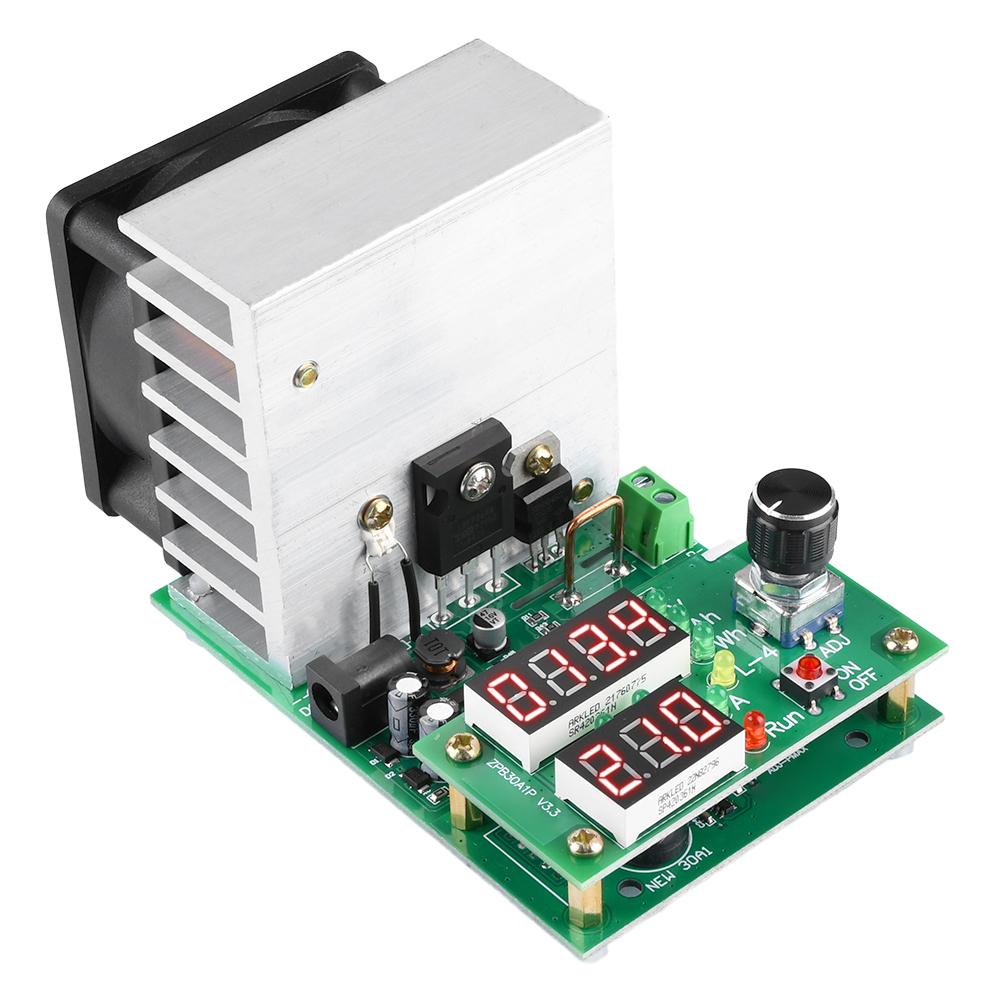
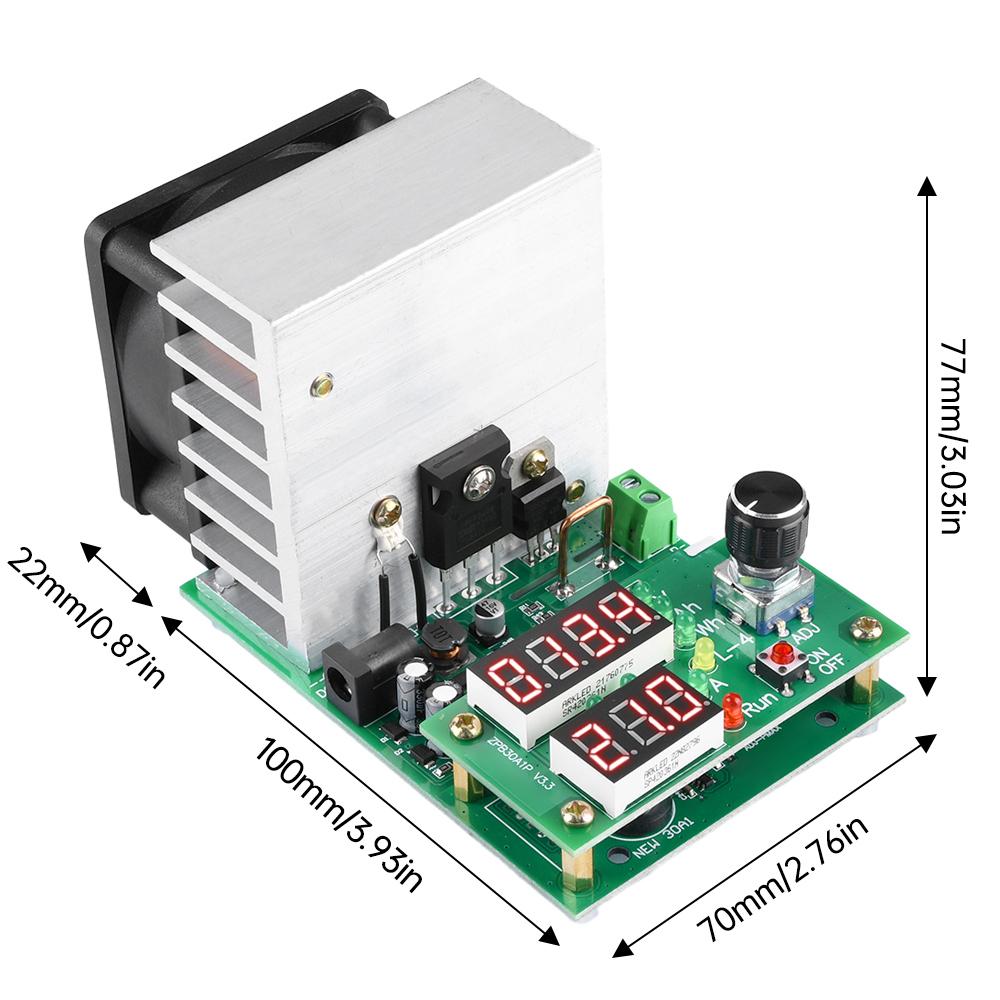
Product size: 110W: 122mm * 70mm * 77mm (fan protrudes from the board about 22mm)
60W: 106.5mm*70mm*57.5mm (fan protrudes from the board about 12mm)
Positioning hole position: 60mm * 88mm hole diameter 3.2mm installed 5mm post (60W for copper post 110W for insulated nylon post)
Operating instructions:
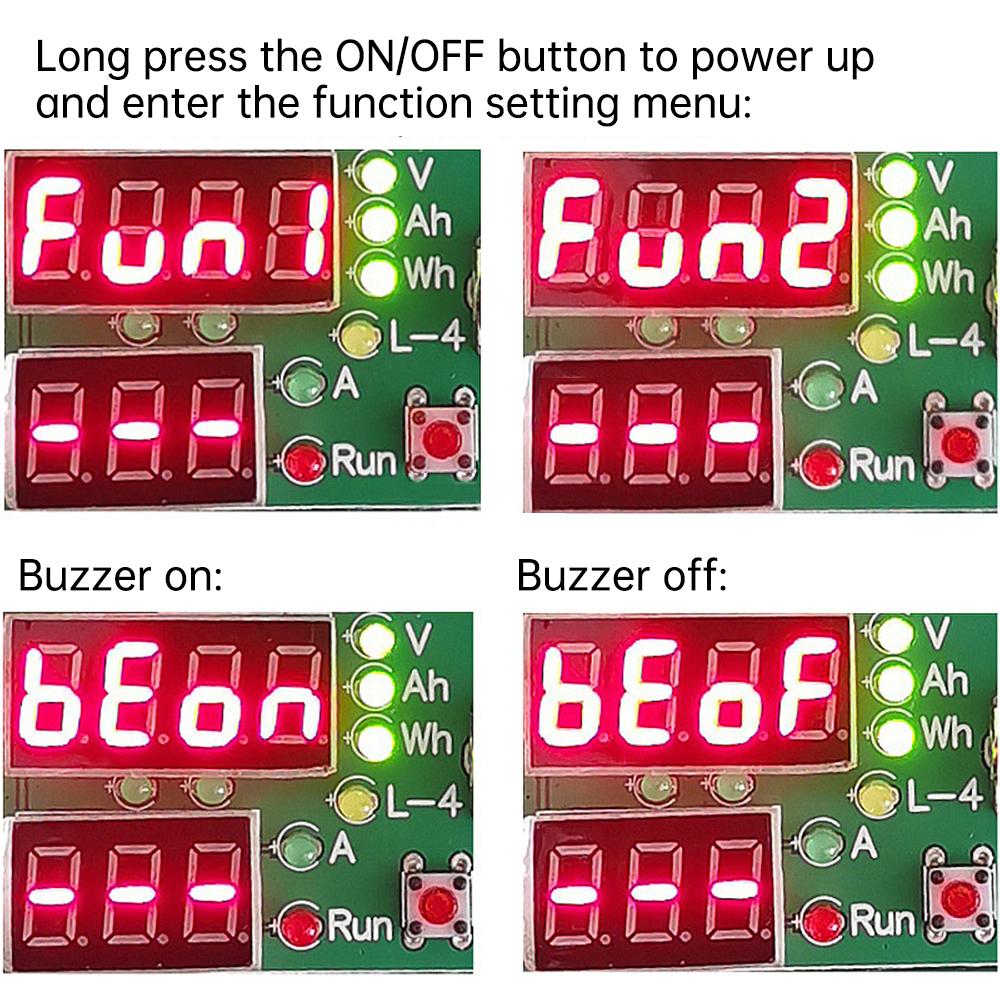
I. Function mode setting (default factory electronic load mode): press and hold "ON/OFF" at the same time to energise the tester until the display of Fun* and then release the button, at this time to enter the function setting menu. Change the setting by rotating the knob, switch to the next step by pressing "ON/OFF", and set in the following order:
1. Mode setting "Fun1" is electronic load mode, "Fun2" is battery capacity test mode.
2. Buzzer switch setting "bEon" buzzer on, "bEoF" buzzer off.
3. Display brightness setting "Lt-1" "Lt-2" "Lt-3", three brightness levels can be selected. Finish this again press "ON/OFF" to save and exit the setting. Afterwards, the tester will restart and enter into normal working condition.
Second, the electronic load mode:
1. Turn on the 12V power supply, make sure that it is in the stop state ("RUN" lamp does not light up, otherwise press the "ON/OFF" off) under the connection of the power supply under test to the power input port (P + P-), such as the use of four-wire connection, please at the same time will be If using four-wire connection method, please connect the voltage detection line to the (V+V-) socket at the same time. If the measured power supply voltage is higher than 1V, the voltage will be displayed automatically, and the "L-4" lamp will light up when it is recognised as 4-wire mode. Note: Do not touch the radiator with the screwdriver when wiring, and do not connect the negative pole anyway.
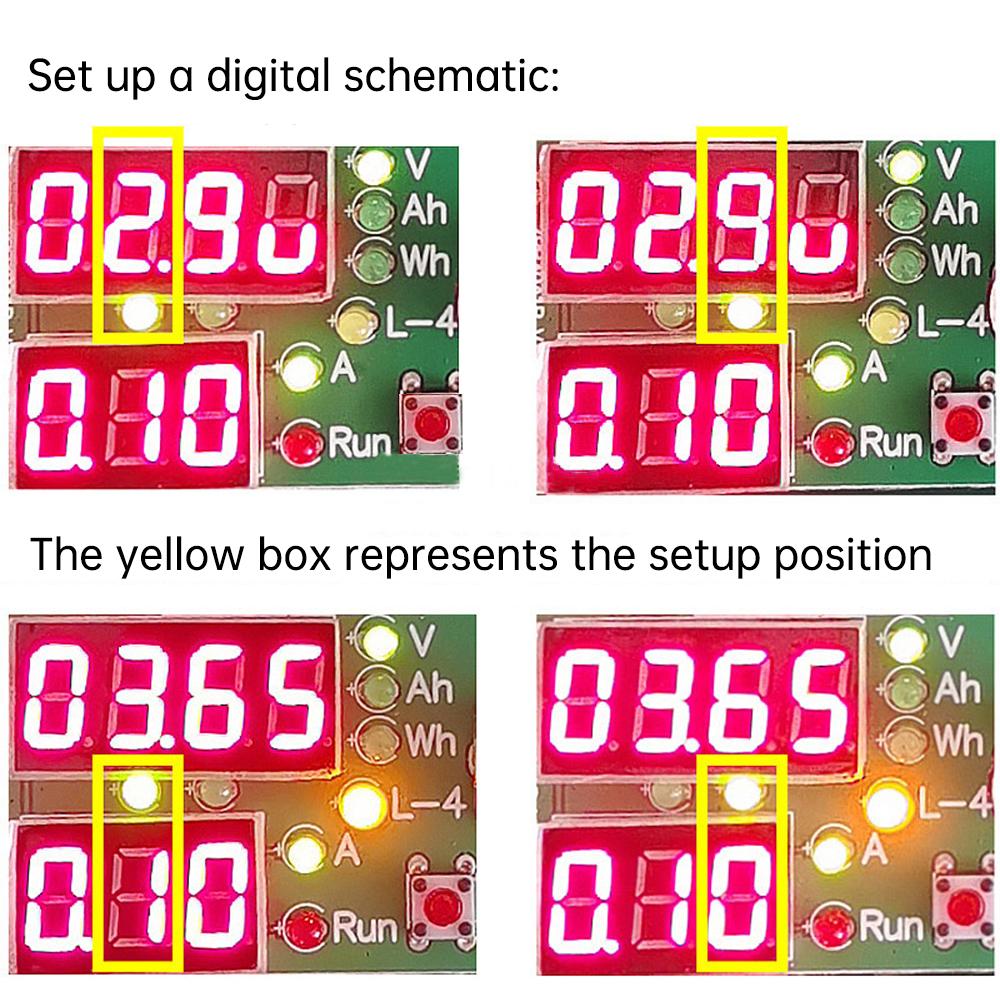
2. Set the current and lower limit voltage by knob, rotate the knob to set the value of the current setting position, press the knob to switch the setting digit, the number of the current setting position will be flashing, more than 3 seconds of non-operation will automatically exit the setup to return to the normal display of voltage and current.
3. Press "ON/OFF", the load starts to run, "RUN" lights up, the circuit applies the set discharge current to the input power supply to be measured, and at the same time displays the actual input voltage of the load on the upper line, when the voltage is lower than the set lower limit voltage, "RUN" lights up, the circuit applies the set discharge current to the input power supply to be measured, and at the same time displays the actual input voltage of the load on the upper line. When the voltage is lower than the set lower limit voltage, "RUN" lamp flashes and accompanied by a short buzzer alarm.
4. The current can be modified at any time during the test, if the lower limit voltage needs to be modified, the load must be turned off before modification.
Note: When in alarm state, the current can only be adjusted down, not up! Tester automatic power-down save function can save the set parameters and operating state, when the power failure to resend power will be completely restored before the power failure state and data.
Battery capacity test mode:
1. The battery to be tested should be fully charged with a special charger first!
2. Power on the tester to enter the battery capacity test mode, connect the positive and negative battery current lines to the P+P- terminal, if you use a four-wire fixture test, please also connect the four-wire fixture voltage test interface positive and negative to the V+V- port. The tester will display the battery voltage, if the 4-wire voltage test line is connected correctly "L-4" lamp will light up at the same time.
3. Set the discharge current and discharge termination voltage by rotating the knob (please refer to the description of II:2), after setting, press "ON/OFF", the tester will firstly detect the battery and the line, and then enter into the test, if there is a fault code, please refer to the back of the description.
4. During the testing process, the upstream digital tube will display the battery voltage, current discharge capacity Ah and current discharge energy Wh. When the discharge is finished (the battery voltage is lower than the set voltage), the tester will display the data in Ah and flash rapidly, accompanied by a buzzer alarm sound.
5. Press the knob or start/stop switch to stop the alarm, you can rotate the knob to view the battery discharge data including discharge capacity Ah, discharge energy Wh and platform voltage V. Press "ON/OFF" again to clear the data and restore to the initial setup interface before testing the next battery.
Supplementary notes:
1. The discharge current can be adjusted at any time during the battery test, if you need to re-adjust the termination voltage, you can pause the discharge modification by pressing "ON/OFF" (pause the discharge will go back to the setting page, the discharged data will not be lost, at this time, long-press "ON/OFF" can clear the data). (The discharged data will not be lost when you press and hold "ON/OFF" to clear the data).
2. Tester power down automatically save the ability to record the set parameters, and in the test process and the end of the test alarm state occurs when the power failure to record all the parameters and the state of the re-powered all automatically restored.
Fault protection code and meaning:
Err1: capacity test battery voltage is too high.
Err2: Battery voltage is lower than the set termination voltage, not connected to the battery or reverse battery.
Err3: The internal resistance of the line is too large or the battery can not withstand the set discharge current.
Err4: Circuit failure.
Po-L: Power supply voltage is too low or insufficient power.
Po-H: Power supply voltage too high.
otP: Overheat protection.
Ert: Temperature probe failure or too low temperature.
ouP: Voltage too high in electronic load mode.
Packing list:
Tester *1
Accessory kit *1



 Rimborso per mancata consegna