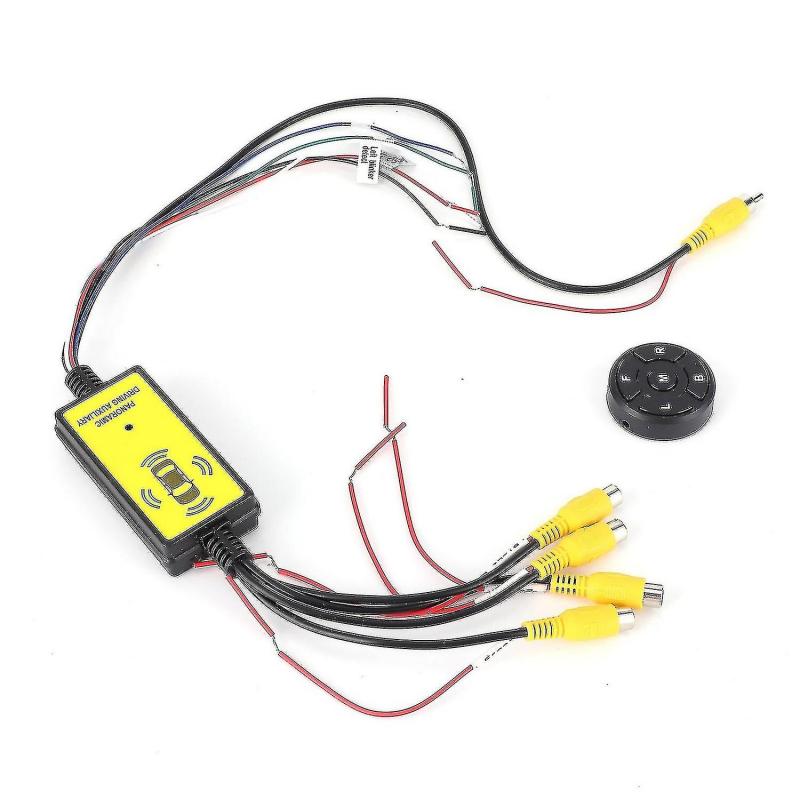
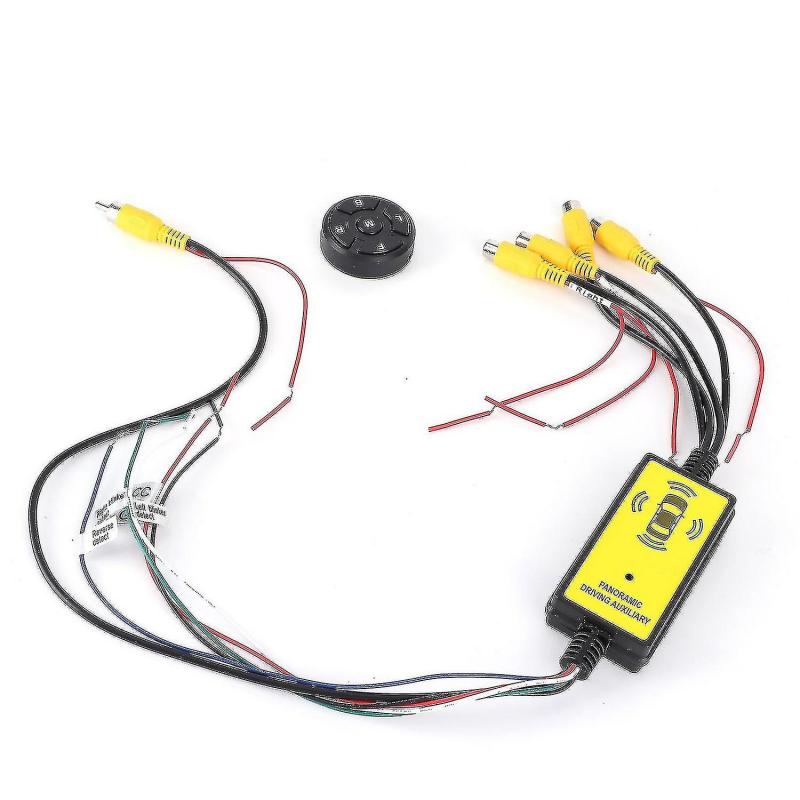
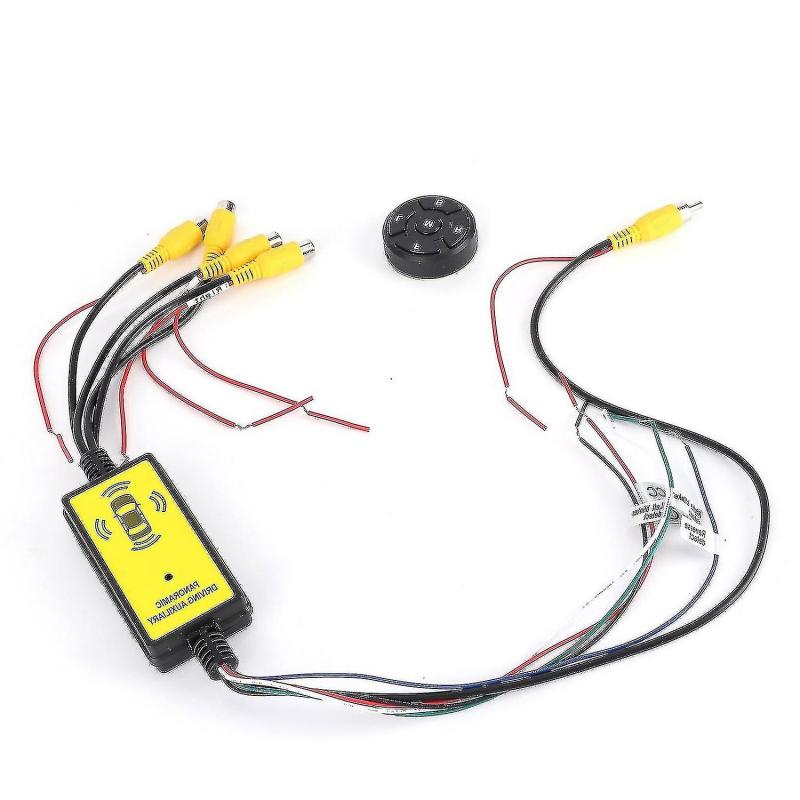
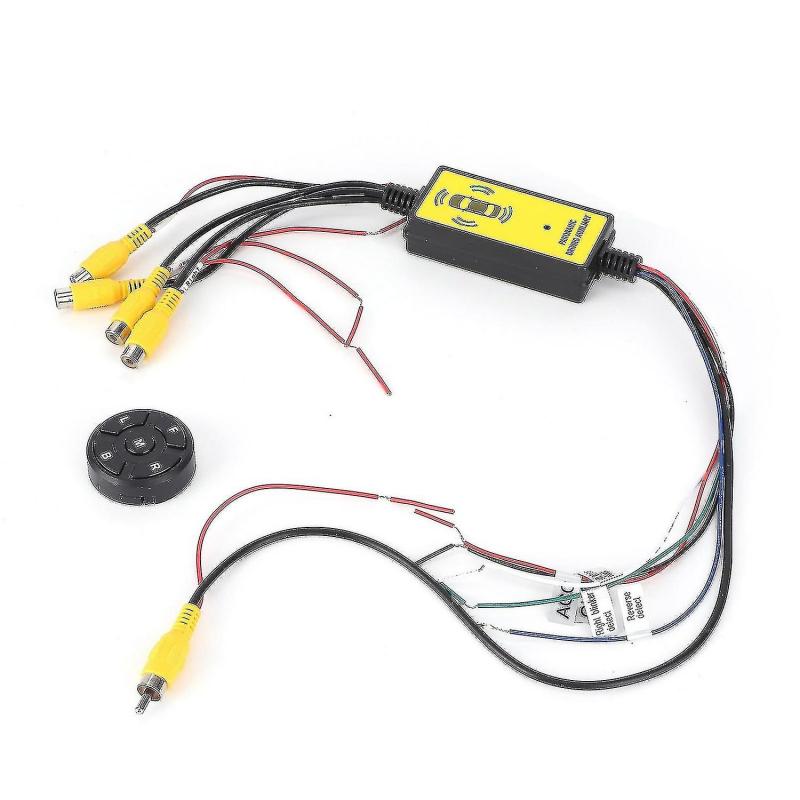
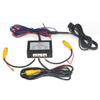
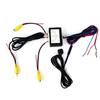
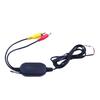
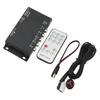
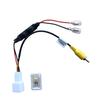
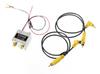
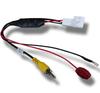
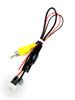
14 channels of video input: left view, right view, rear view, front view. Each group of video inputs has a DC+12V power supply for the camera. The 2 outputs share a video channel and the output triggers the screen's power cord. Designed with power protection circuit to protect camera and vehicle circuits. 3. Using wireless remote control and single-chip intelligent circuit detection, the control is precise, the performance is stable and the reliability is high. 4Support various vehicle decoders and add multiple cameras and video inputs. Support decoders, then use DVD or car monitor to solve blind spots in the car. 5. It can detect the left and right steering and reversing conditions of the car and switch to the corresponding video channel. When exiting the reversing state, the video source switches to display the forward view for 7 seconds (this function can be selected according to the situation), and then returns to the default video output off state. Item Type: Video Switcher Material: ABS Wide Voltage Power Input: DC8V-16V, Large Truck: DC24V-12V Power Supply Remote Control Battery: CR2025 (included), Capacity: 170mAh Converter Size: Approx. 80 x 40 x 20 mm/3.1 x 1.6 x 0.8 inches Wireless remote control dimensions: approx. 40 x 10 mm/1.6 x 0.4 in. Wiring: 1. The blue wire is connected to the reversing light and is used to trigger control 2. The white wire connects the left flash and is used for trigger control 3. The green wire is connected to the right flash for trigger control 4. The red and black wires are the +12V power input line 5: Remote control: M key mode switching and exiting the video output trigger function B key rear view R key right view L key left view F key front view (this product has dual-mode control mode, automatic The electronic cable can also be disconnected, and the remote control is as convenient as using a remote control. In the process of exiting from the rear view to the front view 7S by triggering the rear view, only the reverse trigger rear view function is supported, mainly to reduce misoperation. Instructions for setting the LED light of the remote control ( Only supports products with remote control) 1. When the remote control button is pressed to work, the receiver indicator light and the remote control LED will flash, indicating that the transceiver is connected. 2. Press and hold the M button on the remote control for 5 seconds, and the receiver LED flashes 2 times, indicating mode 1 "automatically switch to front view after rear view" and mode 2 "exit directly after closing" function "rear view". Do the switching work. Finally, restart the power and it can be used. 3. Remote control code mode, keep pressing the receiver button for about 3 seconds, the receiver LED light goes out, press any button on the remote control, the receiver LED flashes twice, indicating that the code pairing is completed, and finally restart the power supply. Packing list: 1 x video switching box 1 x remote control Remarks: Please allow 1&8209; there is a 2mm error due to manual measurement. Thank you for your understanding.