Features:
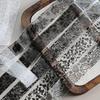
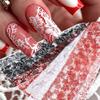
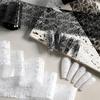
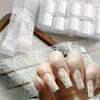
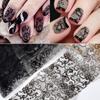
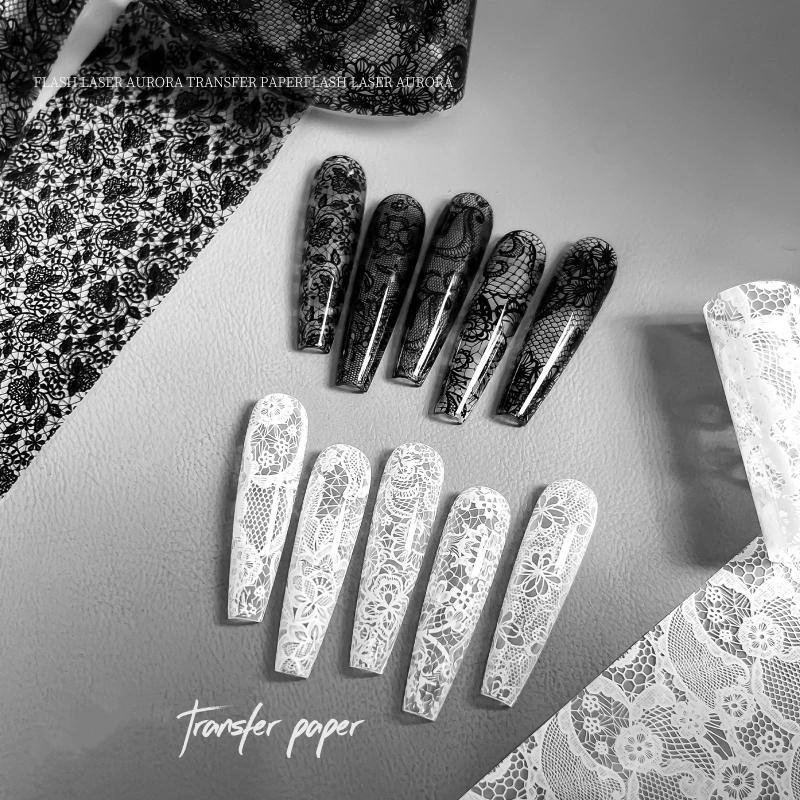
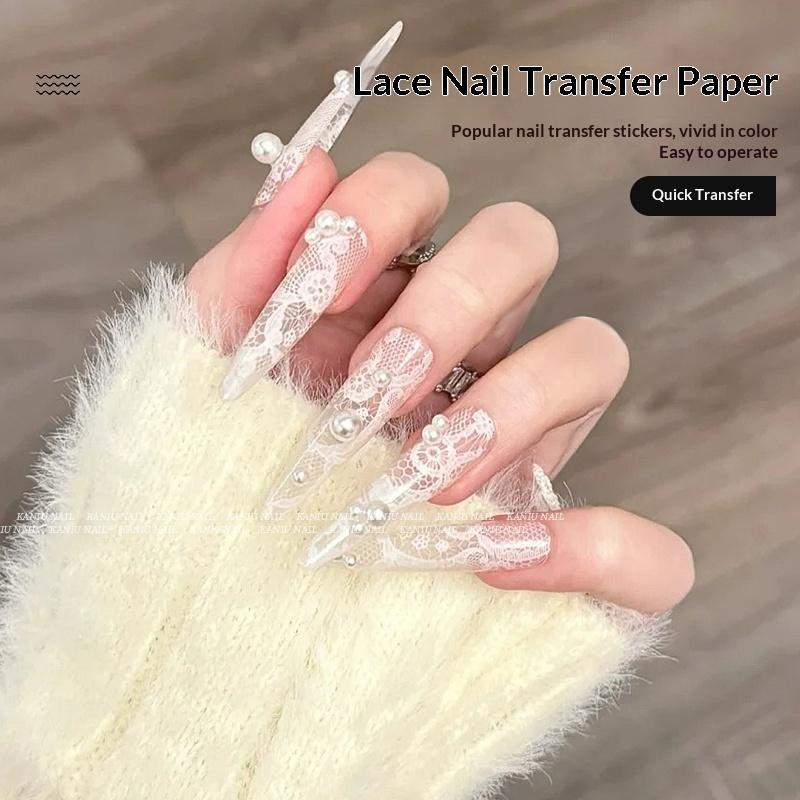
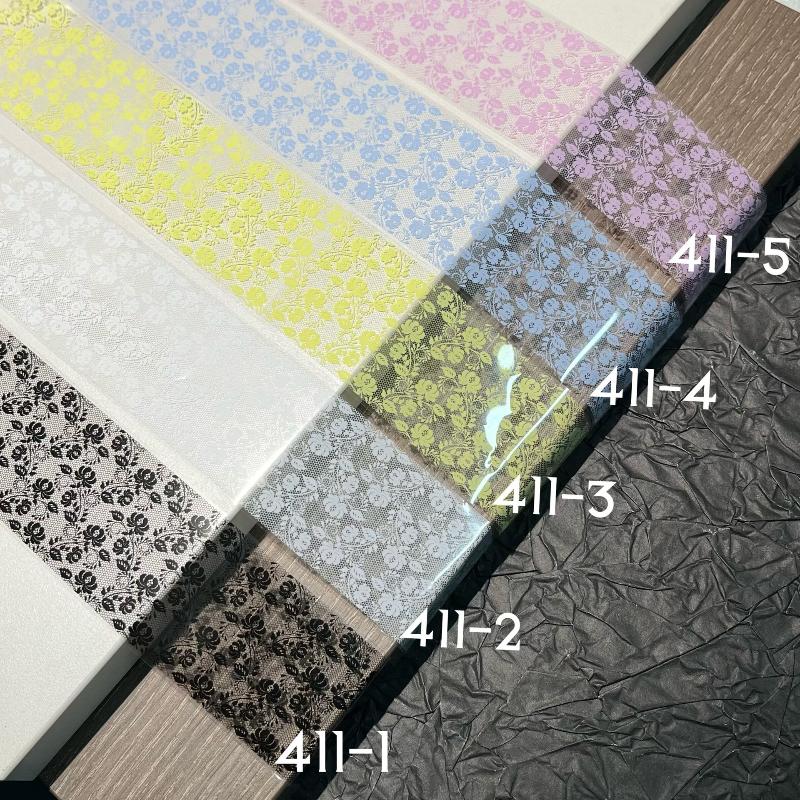
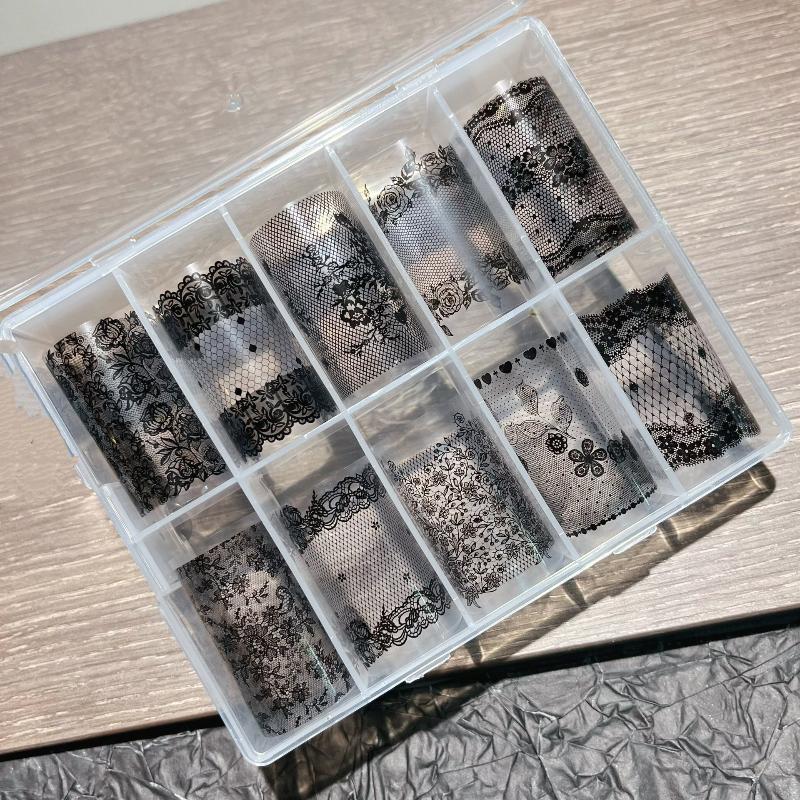
1. Exquisite patterns: The patterns of nail art transfer paper are exquisite and diverse, which can meet the different needs of users for nail art styles and help users create personalized nail art styles.
2. Easy to use: Just stick the transfer paper on the surface of the nail, and then gently flatten it with the nail stick, and the pattern will be quickly transferred to the nail.
3. Lasting: Made of high-quality materials, the transferred pattern is bright in color and not easy to fade, which can maintain the gorgeous effect for a long time.
4. Safety: Nail art transfer paper has no peculiar smell and no irritation to the skin, so users can use it with confidence.
5. Affordable: Compared to do nail art in a professional nail salon, the use of transfer paper is a more economical choice.
Usage:
Step 1: Preparation
Base coat: Apply the base gel and colored gel polish, then under the lamp.
Distinguish the front and back sides: Transfer paper usually has one bright side (smooth side) and one dull side (rough side). When transferring, the pattern side should face down, with the dull side (pattern side) adhered to the nail.
Step 2: Transfer Operation
Transfer gel is required, not regular nail polish gel.
Apply transfer adhesive: On the dried nail surface, apply a thin layer of transfer adhesive. Ensure the edges of the nail are also covered, otherwise the pattern edges may easily peel off.
Curing under light: Follow the instructions on your transfer adhesive for curing under light. The optimal time for transfer is when the surface feels "non-sticky but slightly tacky" to the touch after curing.
Transfer paper: Cut out the desired pattern, then place the pattern side (matte side) downward onto the nail.
Use the pads of your fingers, a silicone press bar, or a cotton swab to press and scrape firmly from the center of the pattern outward, ensuring the paper adheres tightly to the nail surface and removes any air bubbles.
Tear off the paper: Hold one corner of the paper with your fingers or tweezers and quickly and decisively tear it off.
Step 3: Final Touches
After the transfer is completed, the pattern is directly left on the nail surface. Finally, a layer of reinforcing gel or top coat should be applied and cured under a lamp to protect the design from wear.
Non self-adhesive transfer paper requires transfer adhesive to be used.
Specification:
100% brand new quality
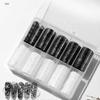
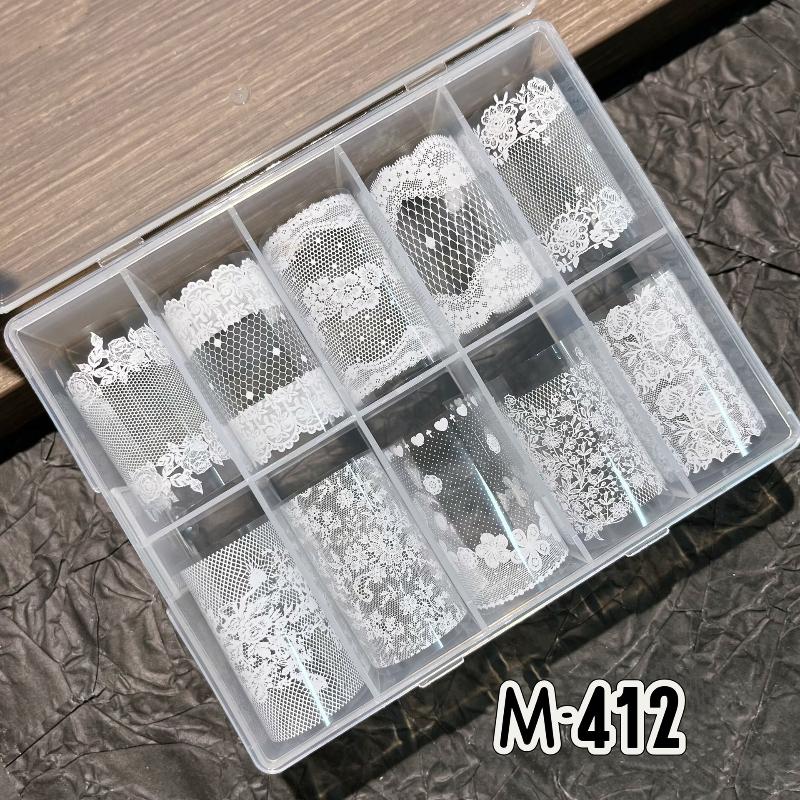
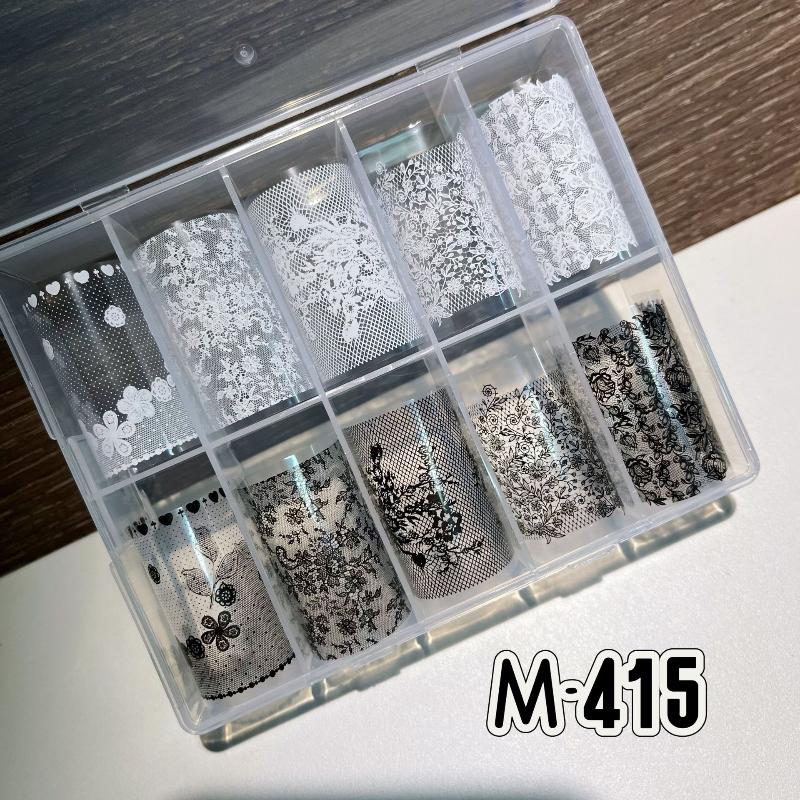
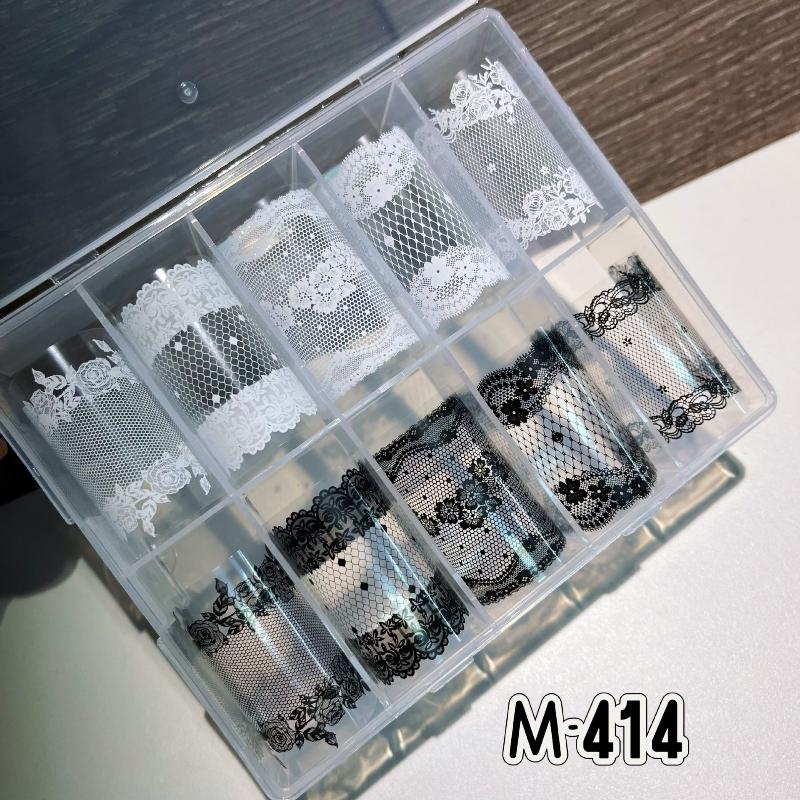
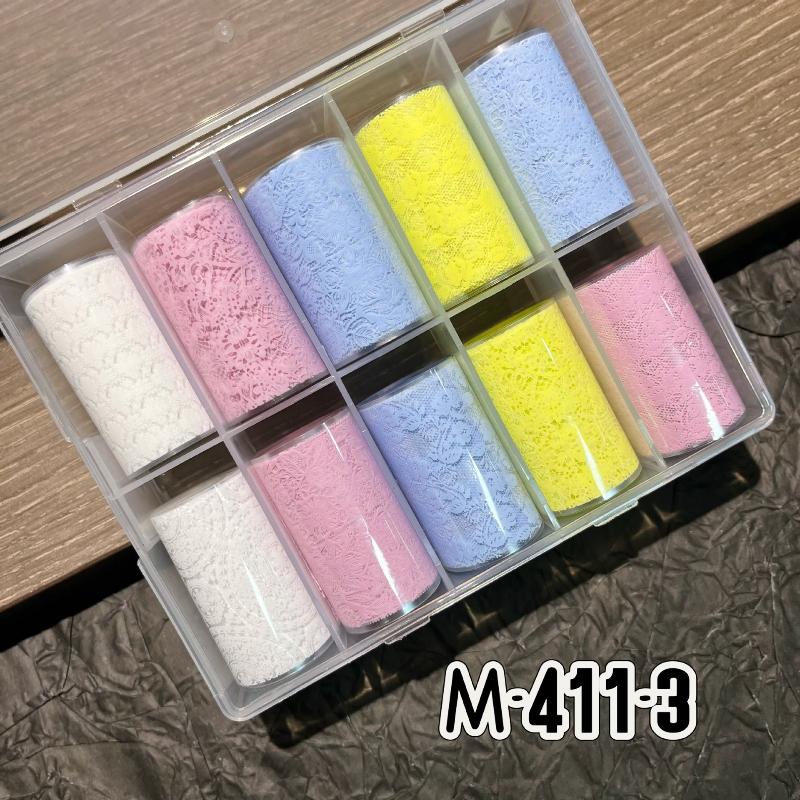
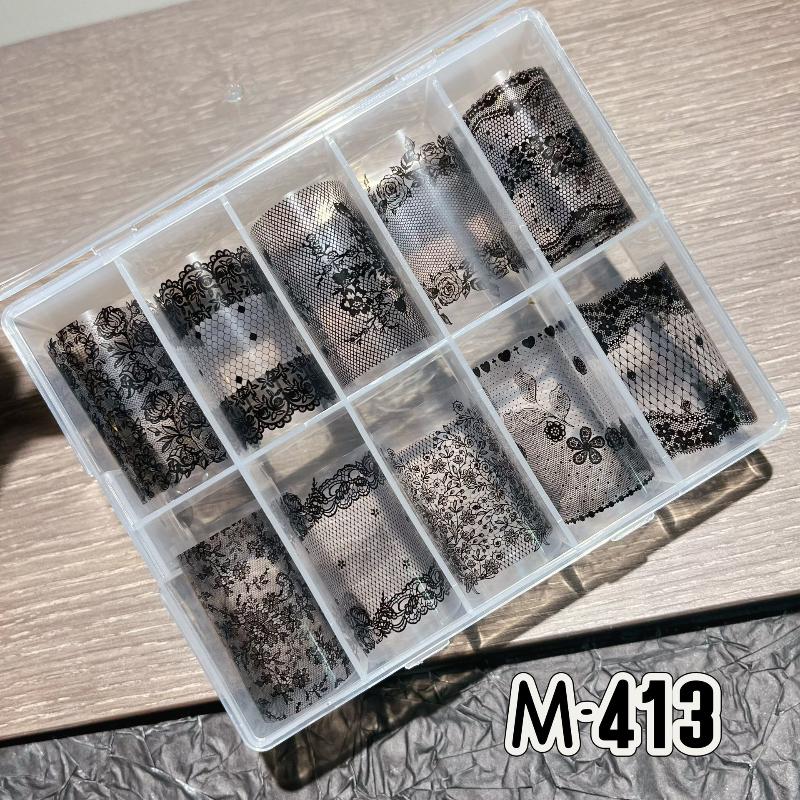
Item Name:Nail Transfer Foils Sticker
Material: PP
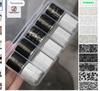
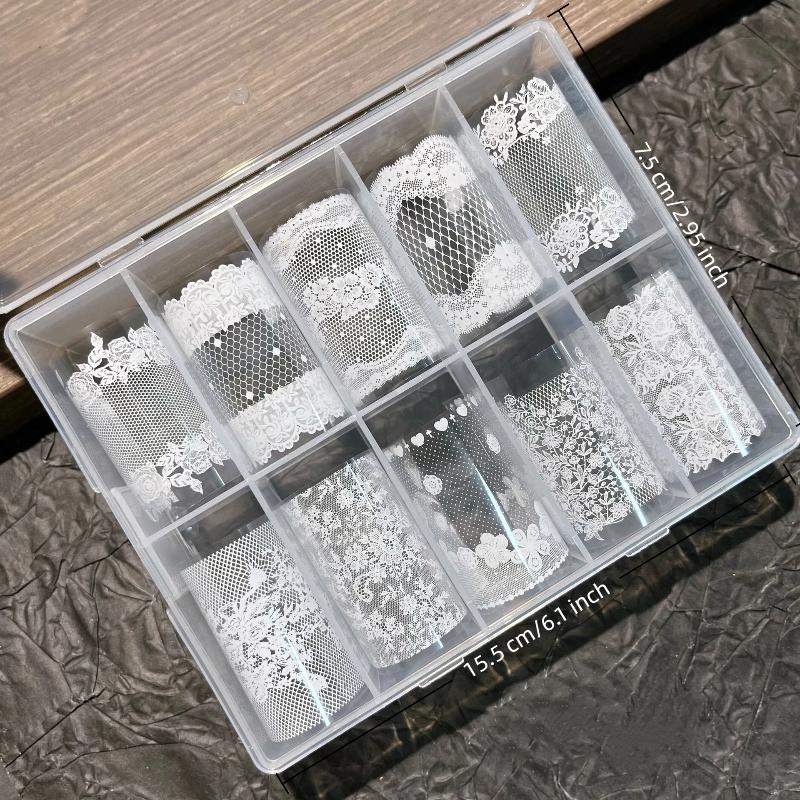
Size:As shown in the figure(1cm=2.54in)
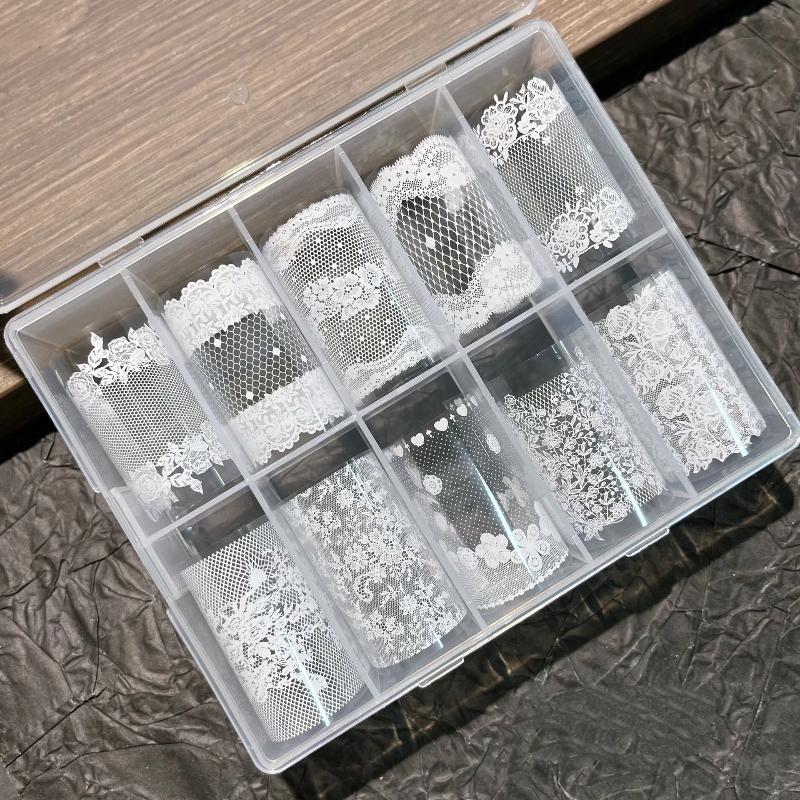
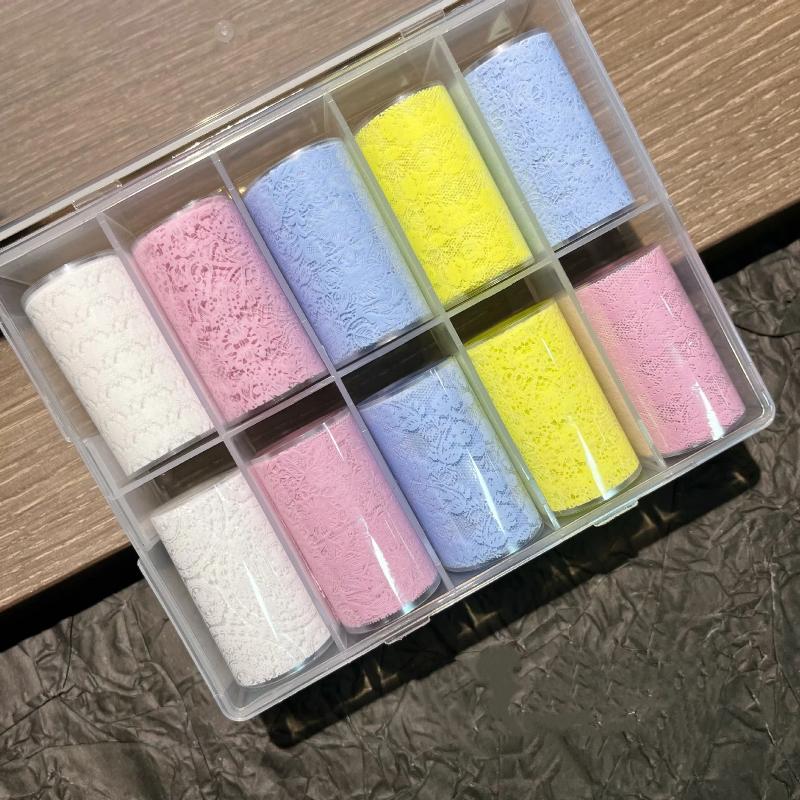
Package includes:
1Box 10 Rolls Nail Transfer Foils Sticker (Excluding transfer adhesive)
Note:
1.Due to differences in display and lighting effects, the actual color may differ slightly from the picture.
2.Due to manual measurement, please allow for measurement errors ranging from 1 cm/0.39"- /1.18".
The merchant warrants that their products comply with all applicable laws, and are offered only if they comply with Joom's policies and EU Product Safety and Compliance laws.


 Rambursare în caz de nelivrare